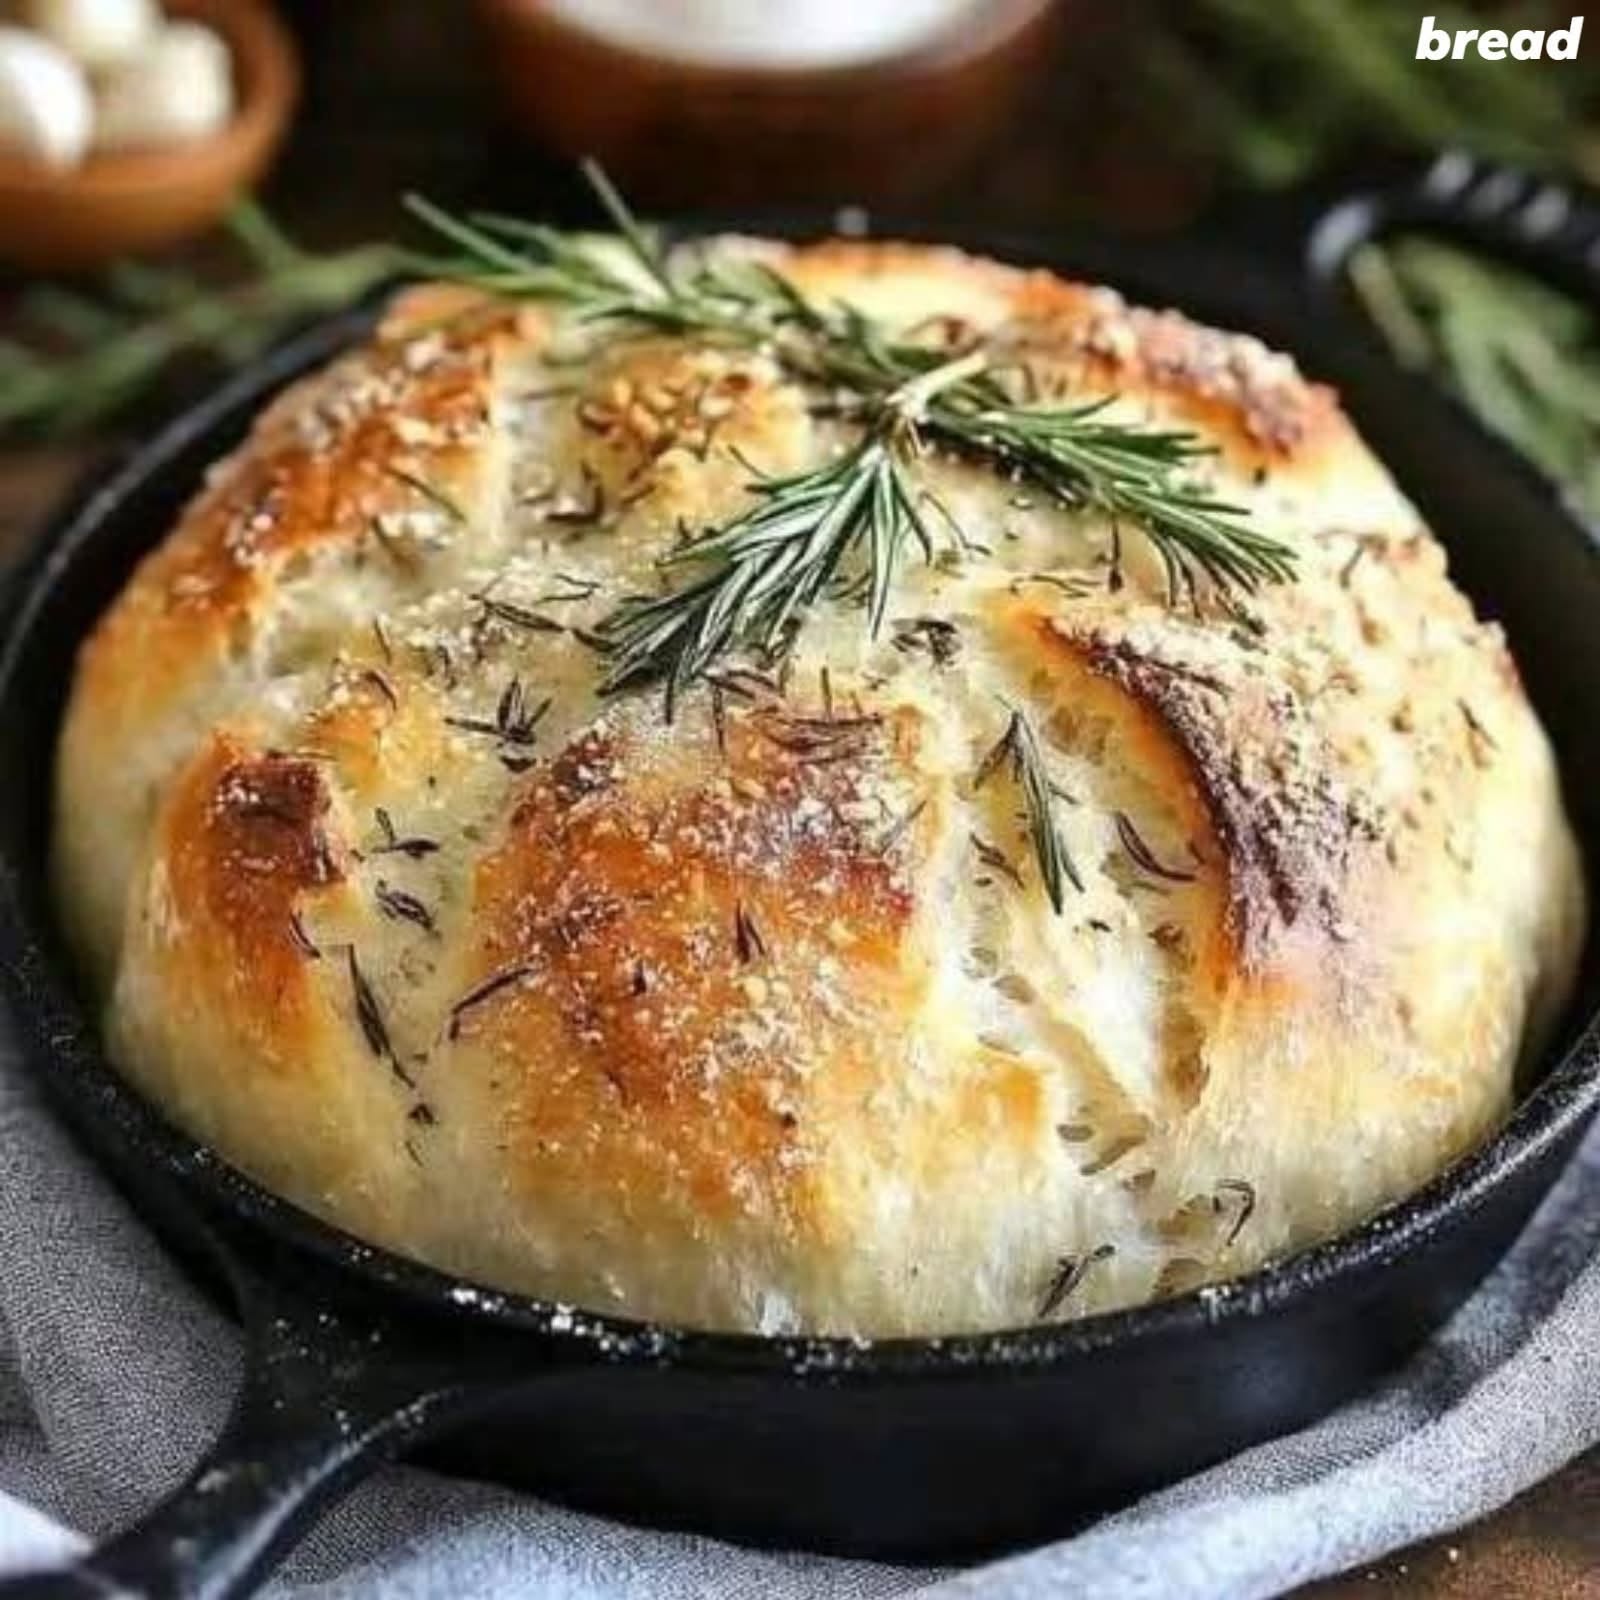
No-Knead Rosemary Artisan Bread (No Eggs, No Butter)
Description
Few things compare to the aroma of freshly baked bread filling your kitchen. This No-Knead Rosemary Artisan Bread is proof that homemade bread doesn’t have to be difficult. With just a handful of pantry staples, you can create a bakery-style loaf featuring a crisp, golden crust; a soft and airy interior; and the fragrant flavour of fresh rosemary.
Unlike traditional bread recipes that require extensive kneading, this dough develops its texture through a long, slow rise. During this resting period, gluten forms naturally, producing a chewy crumb with beautiful air pockets and a crisp crust. The result is a rustic loaf that tastes like it came from an artisan bakery but requires very little hands-on work.
This recipe contains no eggs, no butter, and no dairy, making it naturally vegan. It is also budget-friendly, using inexpensive pantry ingredients that most home cooks already have on hand. Whether served warm with soup, used for sandwiches, toasted for breakfast, or paired with olive oil for dipping, this bread is versatile, satisfying, and perfect for everyday baking.
The addition of rosemary gives the loaf a wonderful herbal aroma, while flaky sea salt on top creates a delicious contrast with the crisp crust. If you have never baked bread before, this is one of the easiest recipes to start with.
Ingredients
3 cups (375 g) all-purpose flour or bread flour
1¼ teaspoons salt
½ teaspoon instant yeast
1¼ cups (300 ml) warm water
1 tablespoon olive oil (optional, for a softer crumb)
1 tablespoon fresh rosemary, finely chopped (or 1 teaspoon dried rosemary)
Extra flour for dusting
Optional: flaky sea salt for topping
Instructions
Step 1: Mix the Dough
In a large mixing bowl, combine the flour, salt, yeast, and rosemary. Add the warm water (and olive oil, if using). Stir with a wooden spoon until all the flour is moistened. The dough will be sticky and shaggy.
Step 2: First Rise
Cover the bowl with plastic wrap or a clean kitchen towel. Let the dough rise at room temperature for 12–18 hours, or until doubled in size and bubbly.
Step 3: Shape the Dough
Lightly flour your work surface. Turn the dough out gently and fold the edges toward the centre a few times to form a rough ball. Avoid overhandling the dough to preserve the air bubbles.
Step 4: Second Rise
Place the dough on parchment paper or in a lightly floured bowl. Cover and let it rise for another 30–60 minutes.
Step 5: Preheat the oven.
While the dough is rising, preheat your oven to 450°F (230°C). If using a Dutch oven or cast-iron skillet, place it in the oven while it heats.
Step 6: Bake
Carefully transfer the dough into the hot Dutch oven or skillet. If desired, score the top with a sharp knife and sprinkle with flaky sea salt.
Bake covered for 30 minutes, then uncover and bake for an additional 10–15 minutes, until the crust is deep golden brown.
Step 7: Cool
Transfer the bread to a wire rack and allow it to cool for at least 30 minutes before slicing. Cooling helps the crumb finish setting and makes slicing easier.
Preparation Time
Prep Time: 10 minutes
First Rise: 12–18 hours
Second Rise: 45 minutes
Baking Time: 40–45 minutes
Cooling Time: 30 minutes
Total Time: Approximately 14–20 hours (mostly hands-off)
Servings
Makes 1 loaf
Approximately 10 slices
Nutritional Information (Per Slice)
Approximate values:
Calories: 155
Protein: 5 g
Fat: 1.5 g
Saturated Fat: 0.2 g
Carbohydrates: 31 g
Fiber: 1.5 g
Sugars: 0 g
Sodium: 290 mg
Nutrition will vary depending on the type of flour and optional ingredients used.
Health Benefits
Simple, Wholesome Ingredients
This bread uses basic pantry staples without preservatives or artificial additives commonly found in some packaged breads.
Dairy-Free and Egg-Free
The recipe is naturally free from dairy and eggs, making it suitable for many dietary preferences.
Lower in Saturated Fat
Without butter or other rich fats, the loaf is relatively low in saturated fat.
Customizable
You can add seeds, herbs, whole grains, or spices to increase flavor and nutritional value.
Freshly Baked Flavor
Homemade bread offers excellent flavour and texture while allowing you to control the amount of salt and other ingredients.
Budget-Friendly
Making bread at home is often more economical than purchasing artisan bakery loaves.
Recipe Notes
Bread flour creates a chewier texture and slightly higher rise.
All-purpose flour works well for a softer loaf.
Instant yeast can be mixed directly with the dry ingredients.
If using active dry yeast, dissolve it in the warm water first.
The dough should be sticky; avoid adding too much extra flour.
Long fermentation develops better flavour and texture.
Fresh rosemary provides the strongest aroma, though dried rosemary is also suitable.
Helpful Tips
Measure flour accurately by spooning it into the measuring cup and levelling it off.
Use warm—not hot—water, around 100–110°F (38–43°C), to help activate the yeast.
Preheating the Dutch oven or skillet helps create a crisp, bakery-style crust.
A shallow slash on the top of the loaf allows it to expand evenly while baking.
Let the bread cool completely before storing to avoid trapping moisture.
For a softer crust, brush the loaf lightly with olive oil after baking.
Experiment with herbs such as thyme, oregano, or basil for different flavour profiles.
Add roasted garlic or grated Parmesan if you are not avoiding dairy.
Storage Instructions
Room Temperature
Store in a paper bag or bread box for up to 3 days.
Freezer
Wrap tightly in plastic wrap and foil, then freeze for up to 3 months.
Reheating
Warm slices in a 350°F (175°C) oven for 5–10 minutes, or toast them for a crisp finish.
Serving Suggestions
Enjoy this bread with:
Olive oil and balsamic vinegar
Homemade tomato soup
Vegetable soup
Lentil stew
Pasta dishes
Avocado toast
Garlic herb spread
Sandwich fillings
Toast with fruit preserves
Cheese boards
Variations
Garlic Rosemary Bread
Mix in 2 cloves of minced garlic.
Whole Wheat Version
Replace up to half of the all-purpose flour with whole wheat flour for a heartier loaf.
Seeded Bread
Add sunflower seeds, pumpkin seeds, sesame seeds, or flaxseeds for extra crunch.
Olive Bread
Fold in chopped olives before the first rise.
Herb Blend
Combine rosemary with thyme, oregano, parsley, or chives for a more complex flavour.
Spicy Bread
Add a pinch of crushed red pepper flakes for gentle heat.
Frequently Asked Questions
1. Do I really not need to knead the dough?
Correct. The long resting time allows gluten to develop naturally, eliminating the need for traditional kneading.
2. Can I use active dry yeast?
Yes. Dissolve it in the warm water and let it sit for 5–10 minutes before mixing with the dry ingredients.
3. Why is my dough so sticky?
A sticky dough is normal for no-knead bread and helps produce an open, airy crumb.
4. Can I use whole wheat flour?
Yes. Replacing up to half of the all-purpose flour with whole wheat flour works well, though the loaf may be slightly denser.
5. What if I don’t have a Dutch oven?
A cast-iron skillet, oven-safe pot with a lid, or even a baking stone with a pan of hot water in the oven can help achieve a crisp crust.
6. Can I add other herbs?
Absolutely. Thyme, oregano, basil, dill, or Italian seasoning are all excellent additions.
7. How do I know the bread is done?
The crust should be deeply golden, and the loaf should sound hollow when tapped on the bottom. An internal temperature of about 200–210°F (93–99°C) also indicates doneness.
8. Can I make the dough ahead of time?
Yes. After the first rise, the dough can be refrigerated for up to 24 hours to deepen the flavour before shaping and baking.
9. Why did my bread turn out dense?
Possible causes include expired yeast, insufficient rising time, adding too much flour, or overhandling the dough during shaping.
10. Can I freeze the baked bread?
Yes. Slice the cooled loaf before freezing so you can thaw only the amount you need.
Final Thoughts
This No-Knead Rosemary Artisan Bread is an easy, affordable recipe that delivers bakery-quality results with minimal effort. By combining flour, water, yeast, salt, and fragrant rosemary, you can create a loaf with a crisp crust, tender crumb, and wonderful homemade flavour—all without eggs, butter, or kneading. Whether you’re a first-time bread baker or an experienced home cook, this foolproof recipe is a satisfying way to enjoy fresh bread from your own oven.